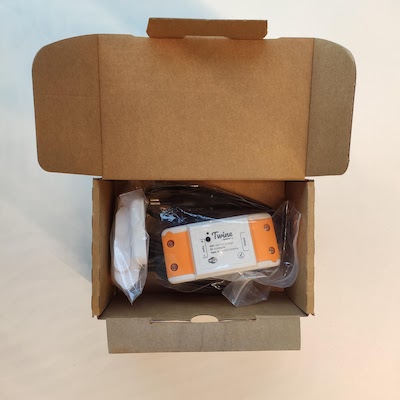
To set up the Twine Garage hardware, you don’t need any tools. All items are assembled and put together in the packaging. The only requirement is WiFi coverage (2.4GHz only) in your garage and a power outlet in close vicinity to the garage door opener. Installation takes just a couple of minutes.
Quick guide
To install the Twine Garage, please follow these steps:
- Open the packaging and take out the Twine Garage orange-and-wite device
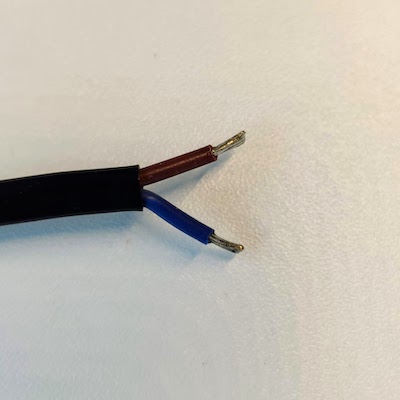
- Plug the brown and blue wires into your garage door opener - see our compatibility page for instructions per garage door opener. We recommend to tape the Twine Garage device on top of your garage door opener.
- Plug the power plug into your outlet, you can see the LED on the device starts blinking blue
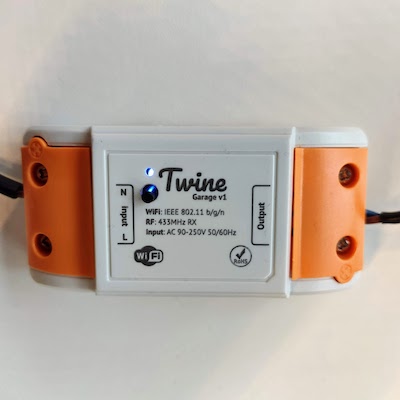
- To test the opener functionality, short press the button on the device. If the brown and blue wires are correctly connected to your garage door opener, it will open the door. Short press it again to close the door.
- Now it’s time to make your garage door smart. Download the mobile app from the Google Play Store or Apple App Store by clicking on one of the links below:
- Connect the Twine Garage to your WiFi network by following the instructions in the app
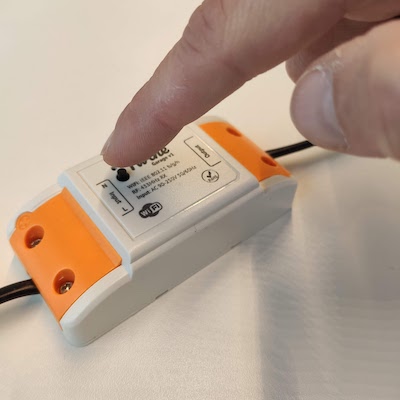
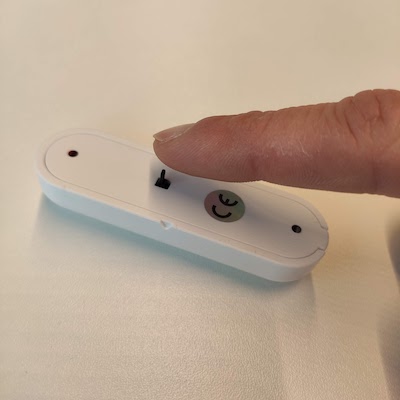
- After your Twine Garage has been set up, the app will ask you to bind the sensor to your device. Bind the sensor by pressing the button on the back.
- Finally, install the sensor on your garage door. One part needs to be taped on the door that moves, the other part on a fixed position such as your wall. Make sure that when the door is closed the two sensors are very close together (almost touching).

That’s it, congratulations! If you encountered any issues, please contact us and we’ll be more than happy to help you.